Application Frames in AICA Studio
This guide explains the various methods to create and modify application frames in AICA Studio.
If you haven't done so already, review the corresponding concepts page first.
Create frame in 3D scene view
Using the "Create a frame" dropdown in the 3D scene view in AICA Studio, users can create a new named frame which can
then be dragged to the desired location in the scene. The position, orientation and reference frame of the frame appear
under frames in the application YAML and are updated on drag.
Frames are created at the origin of the scene and have reference frame world by default.
Record frame in 3D scene view
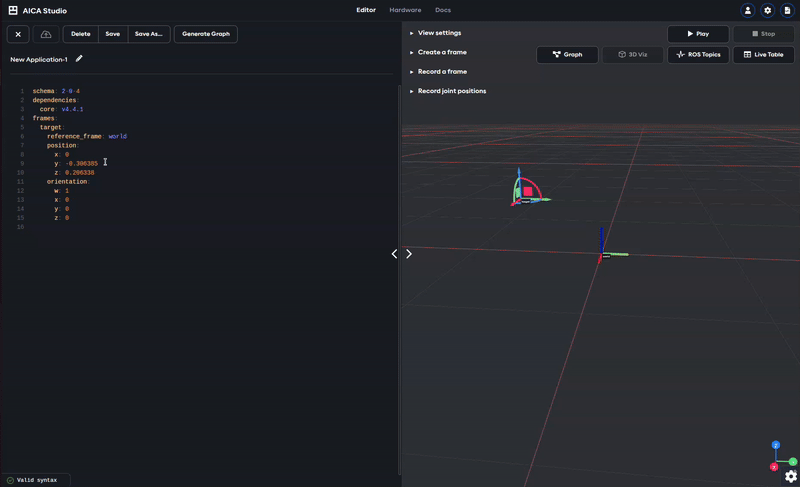
Application frames can be created by recording an existing frame from TF. The "Record a frame" dropdown allows to save
any available frame from TF under a new name in a running application. This can be useful to obtain the end-effector
pose of a robot in various locations, which will then be used as waypoints for the robot movements in the application
flow. In the example below, the end-effector frame tool0 of the robot is recorded as target.
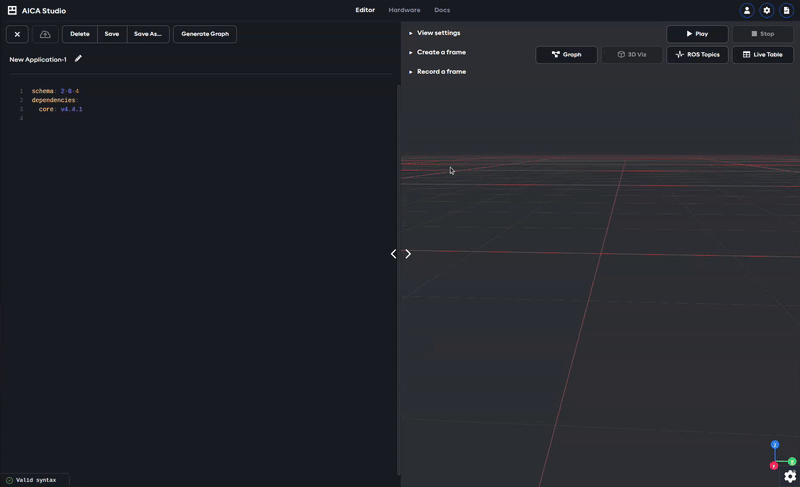
Application YAML
schema: 2-0-4
dependencies:
  core: v4.4.1
on_start:
  load:
    hardware: hardware
hardware:
  hardware:
    display_name: Hardware Interface
    urdf: Generic six-axis robot arm
    rate: 100
    events:
      transitions:
        on_load:
          load:
            controller: robot_state_broadcaster
            hardware: hardware
    controllers:
      robot_state_broadcaster:
        plugin: aica_core_controllers/RobotStateBroadcaster
        events:
          transitions:
            on_load:
              switch_controllers:
                hardware: hardware
                activate: robot_state_broadcaster
graph:
  positions:
    hardware:
      hardware:
        x: 500
        y: -20
Frames are recorded in reference frame world by default. In the future, recording frames in configurable reference
frames might be supported.
Edit frames in application YAML
Users that are familiar with the application YAML can also add, remove, and edit frames in the application YAML.