Orbbec camera component
AICA's orbbec package includes support for a range of Orbbec camera models, including:
- Gemini 33X
- Gemini 435Le
- Gemini 2/2L
- Femto Bolt/Mega
- Astra 2
This guide describes all necessary steps to install, configure and run the component using AICA Studio.
Installation
For now, the Orbbec camera component has only been tested on Linux machines. Other platforms might be officially supported in the future.
To ensure proper access to the camera device, special udev rules have to be applied to the Linux system the camera is connected to. Run the following commands in a terminal:
wget -O 99-obsensor-libusb.rules https://raw.githubusercontent.com/aica-technology/OrbbecSDK_ROS2/refs/tags/aica/v2.4.3/orbbec_camera/scripts/99-obsensor-libusb.rules
sudo cp 99-obsensor-libusb.rules /etc/udev/rules.d/99-obsensor-libusb.rules
sudo udevadm control --reload-rules && sudo udevadm trigger
These commands will download and apply the udev rules. To ensure that the rules have been applied correctly, the Orbbec Viewer can be used to check the camera feed.
Start the AICA Launcher and add the orbbec package to your configuration.
Select Launch AICA Studio to proceed.
Creating and running the example
Start by creating a new application.
- Remove the hardware interface that is included in new applications by default.
- Press the (+) button on the top right, and locate the Orbbec Camera component. Click to add to the graph.
- Next, connect the component to the start block.
- Press Play to start the application.
- To see the live camera feed, click on the gear icon on the bottom right and select Launch RViz.
- In RViz, select Add > By topic > /orbbec_camera/color_image > Image. This adds a panel that shows the live color image. The depth image can also be found under /orbbec_camera/depth_image > Image.
In case the component does not produce a video stream, try mounting the /run/udev/ volume. In AICA Launcher, expand
the Advanced Settings at the bottom, select Add a volume mount and define the volume as shown below. If you
still encounter problems getting the video stream, contact the AICA support team.

Parametrizing the Orbbec camera component
Click on the small gear icon on the Orbbec Camera block to view and edit the available parameters.
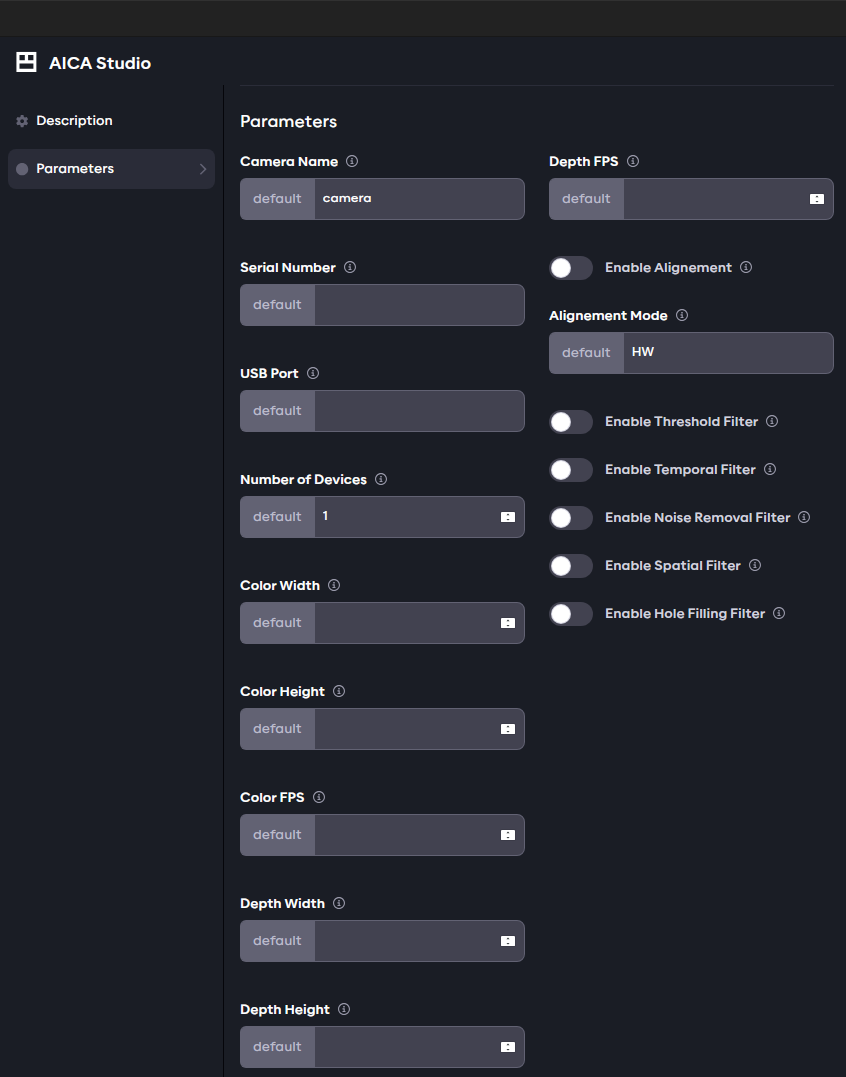
Hovering over the exclamation marks next to the names shows a detailed description of the corresponding parameter. Let's explain some of these here:
-
Color/Depth Width/Height/FPS: these refer to the resolution and frame rate of the color and depth images. Keep in mind that only specific pairs of integer values apply here. For more information check the camera's documentation.tipThe Orbbec Viewer can also come in handy here, as it shows the available profiles for the connected camera.
-
Enable Alignment: flag that activates the spatial alignment of the depth image to the corresponding color image. Generates a depth image with the same size as the color, with depth expressed in the color camera coordinate system. -
Enable Threshold Filter: flag that activates a threshold filter in the depth image. If activated, corresponding filter parameters can be directly defined in the YAML editor to configure the filter behavior. To see what parameters can be defined, read the description by hovering over the exclamation mark.If the additional parameters are not provided, default values will be used. For instance, activating and configuring the threshold filter would look like this in the YAML editor: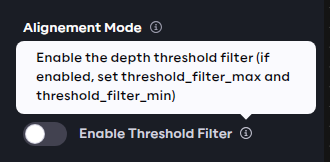
components:
  orbbec_camera:
    component: orbbec_camera::OBCameraNodeDriver
    display_name: Orbbec Camera
    parameters:
      enable_threshold_filter: true
      threshold_filter_max: 2000
      threshold_filter_min: 500
Click on Generate Graph to make the changes take effect. Start the application, launch RViz and add a panel for the depth image. Only objects between 0.5 and 2 meters should appear. Keep in mind that most cameras have a minimum Z depth; if the maximum threshold is set below this value, the image will appear blank, but noisy and arbitrarily small/large depth values may still be published. For more information about that, check the camera's documentation.
If needed, follow the same process to activate and configure other available filters.